Homemade Crème Brûlée Ice Cream (Ohayo Style)
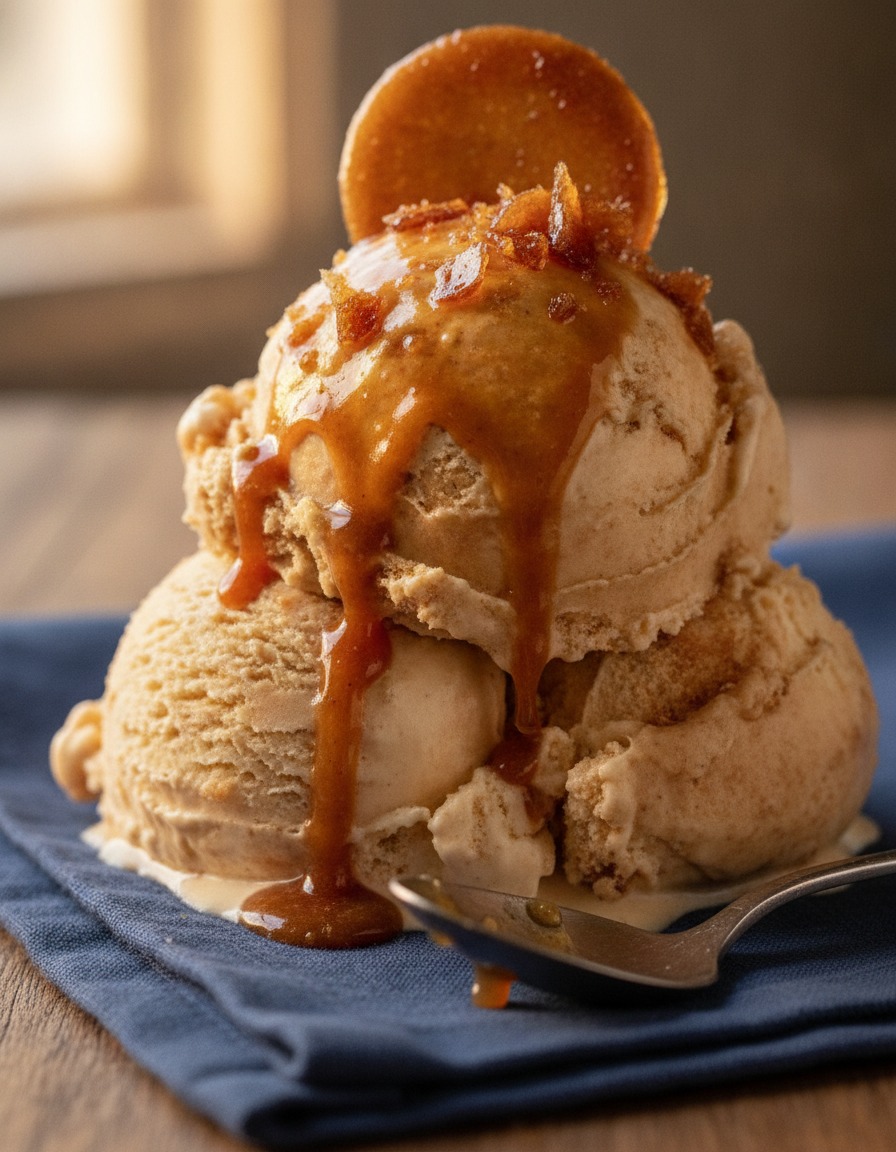
Recreate the viral Japanese 'Ohayo Brûlée Ice Cream' at home with premium quality. Rich, velvety egg-custard ice cream topped with a thin, crackly, caramelized sugar shell offers a sensory delight for sight, sound, and taste.
Servings Ingredient Calculator
Default: 2 servings (Adjusts quantities automatically)
🥬 Main Ingredients
- Egg yolks3 pcs
- White sugar (for base)40g
- Milk150ml
- Heavy cream (min 35% fat)150ml
- Vanilla extract1 tsp (5ml)
🌿 Toppings & Garnish
- White sugar (for caramel)2 tbsp (30g)
🔄 Ingredient Substitutes & Tips
| Original Ingredient | Recommended Substitute | Characteristics & Tips |
|---|---|---|
| Heavy cream | 100ml Milk + 50g Unsalted butter | Replaces equal volume (150ml); mimics rich taste with fat, but feels slightly lighter. |
| Vanilla extract | 1/2 Vanilla pod or 1 tsp Maple syrup | Using a vanilla bean adds real seeds for an artisanal look and rich aroma. |
📊 Estimated Nutrition (Per Serving)
👨🍳 Cooking Steps
In a clean, dry bowl, combine 3 egg yolks and 40g of white sugar. Whisk vigorously for about 2-3 minutes until pale yellow and thick.
In a saucepan, heat 150ml milk and 1 tsp vanilla extract over low heat until warm and small bubbles start forming at the edges (approx. 60-70°C).
Slowly drizzle the warm milk into the yolk mixture while whisking rapidly to temper the eggs without scrambling them.
Pour the mixture back into the saucepan. Cook over very low heat, stirring continuously with a spatula until it thickens into a crème anglaise that coats the back of a spoon. Cool completely.
In a separate bowl, whip 150ml cold heavy cream to soft peaks (60% whipped). Gently fold it into the cooled custard base.
Pour the cream mixture into heat-resistant ceramic ramekins, smooth the top, wrap, and freeze for at least 5 hours until solid.
Remove frozen ice cream from the freezer. Sprinkle about 1 tbsp of white sugar over each ramekin and tilt gently to coat evenly.
Hold a kitchen torch 10-15cm away and move the flame in quick circular motions. Once the sugar bubbles into a golden caramel crust, stop immediately. Freeze for 5 minutes to harden the caramel shell, then serve.
🌟 Pro Chef Tips
- • Putting the torched ramekins back in the freezer for 3-5 minutes hardens the caramel crust into a crackly shell and re-firms any softened ice cream.
- • Keep the torch flame on medium heat at a safe distance and move in circular motions to ensure golden caramelization without bitter scorching.
- • Using fresh vanilla bean seeds instead of extract gives the ice cream striking visual specks and a deep, authentic aroma.
⚠️ Avoid Common Pitfalls
- ❌ Pouring hot milk into the egg yolks too fast will scramble the eggs and ruin the smooth ice cream base.
- ❌ Cooking the custard over high heat causes egg proteins to curdle rather than thicken smoothly.
- ❌ Holding the torch flame in one spot too long causes the sugar to burn black and bitter while liquefying the ice cream below.
🧂 Spice & Seasoning Adjustments
- • For optimal caramelization, pass the white sugar through a fine strainer to create a perfectly uniform layer.
- • Adding a small pinch of salt (0.5g) into the custard base elevates the sweetness and creates an exquisite salted-custard nuance.
🧊 Storage & Reheating
- • Un-torched ice cream sealed airtight can be kept in the freezer (-18°C or lower) for up to 14 days.
- • Once caramelized, consume within minutes, as the hard sugar crust will absorb atmospheric moisture and lose its crunch over time.
❓ Frequently Asked Questions
Q. How can I make the caramel crust without a kitchen torch?
A. Heat the back of a metal spoon over a gas flame for 30-60 seconds, then gently press it onto the sugar surface. Wear oven mitts to avoid burns.
Q. Can I use brown sugar or sugar substitutes like Allulose?
A. Moist sugars or sugar substitutes (like Allulose) tend to get sticky or melt into syrup instead of hardening into a glass-like shell. Fine white sugar is strongly recommended.
Q. Is it really soft and creamy without an ice cream maker?
A. Yes! The combination of cooked custard and whipped heavy cream prevents large ice crystals from forming, ensuring a silky texture without periodic churning.
Q. How long can I store this in the freezer?
A. The ice cream base (before torching) can be frozen sealed for up to 2 weeks. However, once torched, the caramel top should be consumed immediately as it absorbs moisture over time.
Q. What should I do if the ice cream melts too fast while torching?
A. Ensure the ice cream is completely solid after at least 5 hours of freezing. Torch at high heat from 10cm away and finish quickly within 15-20 seconds.