Crisp-Edge Kimchi Fried Rice
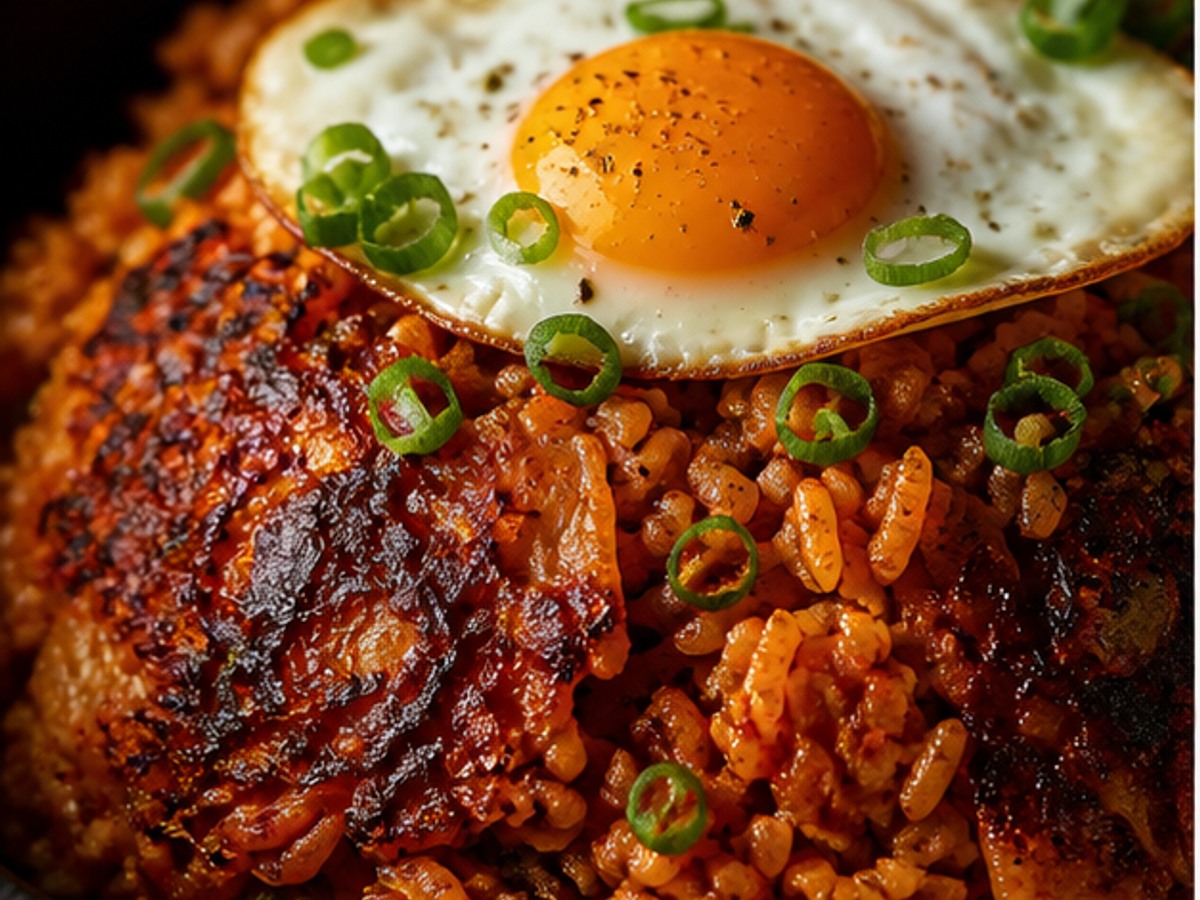
Crisp kimchi fried rice built by drying kimchi first and pressing cold rice for two minutes.
Adding kimchi and rice together traps steam. Dry the kimchi for three minutes, then spread cold rice thin and leave it untouched for two minutes.
⏱️ 20m total (Prep 8m / Cook 12m)
📊 Difficulty: Easy
🌶️ Spice: Mild
👥 Yield: 2 servings
🛠️ Tools: Wide skillet
🛠️ Tools: Spatula
🛠️ Tools: Knife
🛠️ Tools: Cutting board
📅 Recommend: Year-round
Servings Ingredient Calculator
Default: 2 servings (Adjusts quantities automatically)
2 Servings
🥬 Main Ingredients
- Cold cooked rice400 g
- Aged kimchi200 g
- Scallion30 g
- Eggs2
🥣 Sauce & Seasoning
- Neutral oil1 tbsp
- Soy sauce1 tbsp
- Gochujang1 tsp
- Sugar1/2 tsp
- Sesame oil1 tsp
📊 Estimated Nutrition (Per Serving)
Calories
약 480 kcal/인분
Sodium
양념에 따라 다름
Fat
약 12 g
Protein
약 18 g
👨🍳 Cooking Steps
1
Chop kimchi into 1 cm pieces and lightly squeeze excess brine.
💡 Tip: Keep no more than 1 tbsp brine.
2
Heat oil and scallion in a wide skillet for 30 seconds over medium-high. Add kimchi and sugar; cook 3 minutes.
💡 Tip: Cook until liquid no longer pools.
3
Add gochujang and cold rice; break up clumps and mix evenly.
💡 Tip: Do not stir nonstop or mash the grains.
4
Spread rice thin and leave untouched for 2 minutes. Add soy sauce to an empty edge, bubble 15 seconds, then fold in.
💡 Tip: Cook in two batches if the pan is crowded.
5
Turn off heat and fold in sesame oil. Top with fried eggs and serve immediately.
💡 Tip: Plate with browned surfaces facing up.
🌟 Pro Chef Tips
- • Cold rice separates more readily and reduces steaming.
⚠️ Avoid Common Pitfalls
- ❌ Too much kimchi brine makes the rice soggy.
- ❌ A crowded pan traps steam.
🧊 Storage & Reheating
- • Refrigerate leftovers in a shallow container within 2 hours and reheat thoroughly the next day.